Here are some articles from the electronics trade magazines (well, online “magazines,” anyway) that I found interesting:
Equipment Recommendations for a Home Electronics Lab
 Some of the author’s suggestions may seem a bit pricey for a radio amateur’s home lab, but good test equipment will yield good results. He writes:
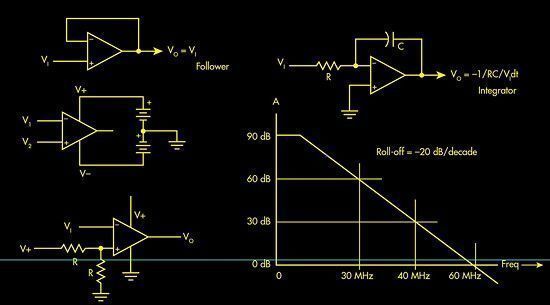
With one exception, I like test equipment with knobs. That refers to scopes, signal sources, and power supplies. Siglent makes a nice, economical line of these kinds of instruments and they’re all available tomorrow via Amazon. You will probably need multiple power supplies, and you’ll want an old-school linear supply for audio work. Once upon a time, I’d have said buy only HP T&M gear (because I worked there, so I have a preference), and older HP gear from eBay can be nice, but the Siglent stuff comes with a warranty.”
Welcome to Antennas 101
 In a very short space, the author does a pretty good job of explaining antennas and some of their parameters. For example, here’s how he explains antenna efficiency:
Antenna efficiency is like efficiency in general—the ratio of power out to power in. However, it’s designated in several different ways. In most cases, efficiencies account for the I2R losses, losses in any dielectric, and losses based on coupling to other devices. What may not be included is any loss related to antenna and transmission- line mismatch losses, resulting in reflected power and a higher SWR.
However, some measures of efficiency factor in any change in antenna radiation resistance variation. Most small antennas aren’t that efficient. Anything better than 50% to 60% is usually good, but always seek to improve it if you can.
AC grounding: essential, dangerous or both?
 The first thing that the author of this piece does is to explain that, “A large part of the confusion comes from the ambiguous and this sloppy terminology associated with that innocent-sounding seven-letter word.” He then explains that the word ground can refer to any one of three types of circuit connections:
- Earth ground where the circuit is actually connected to Earth, which acts as an infinite source and sink for electrons;
- Common (may also be called signal ground), which establishes a 0-V point in a circuit (and there is often more than one of these in the circuit). It’s usually very misleading to even use the word ground with this one.
- Chassis ground, which connects all nominally zero-volt potential points in a circuit; it may be connected to Earth ground, but often cannot be as there is no Earth ground for many devices such as most portable, battery-operated ones; here, it may be misleading to use the word ground if it is not connected to a real Earth ground.
The rest of the article is equally enlightening.