
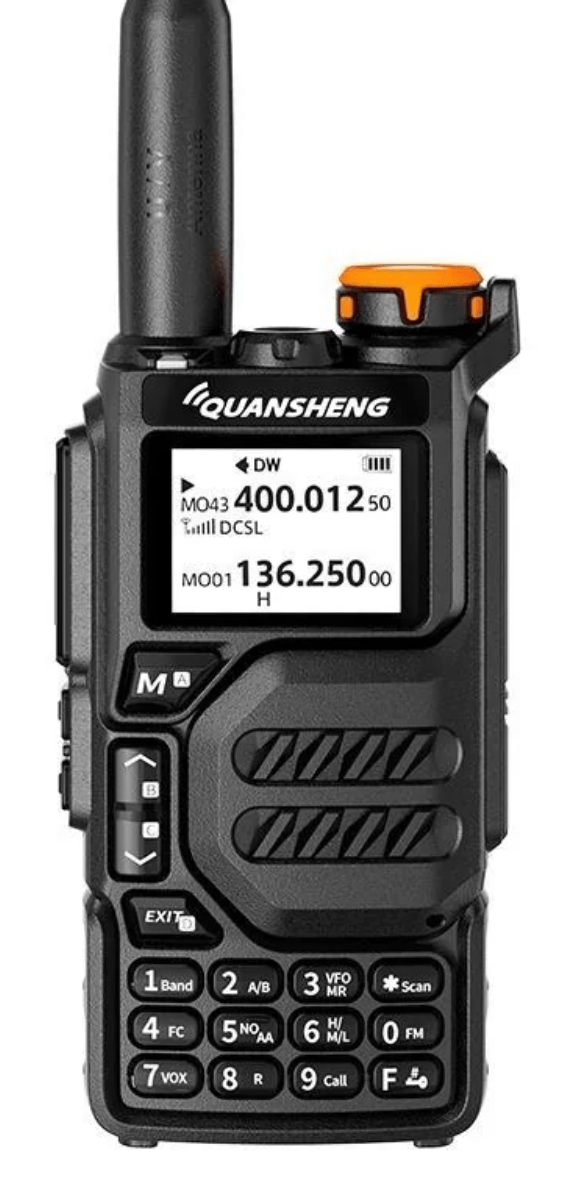
I’m basically a lazy person. I read about all these cool things you can do in amateur radio, but I only get around to doing a small fraction of them because I’m too lazy. That’s the story about my converting my Quansheng to run CW.
I heard about how to do this back in April, but since it required some hardware modifications, I put this off. Now, however, there is firmware that allows you to do this without having to modify the hardware. In fact, there are actually several firmware packages that allow you to do this. So, this past week, I decided to get on board here.
After reading this post on the SOTA website, I decided to try the IJV Mod firmware. I was able to flash the firmware pretty easily with their tools, but I couldn’t seem to get the radio to operate properly. The frequency display read 18.000 MHz on both A and B, and I couldn’t change it. As it turns out, that problem was operator error (i.e. my error), but more about that later.
On Tuesday evening, at our club meeting, I ran into Eric, KF8FCC (great call, eh?), and we got to discussing this. He had converted his Quansheng, and he was hot on getting me into the Brass Knuckles Gang. I described what I had done so far, and showed him my radio. He played around with it for a while, but he couldn’t get it to change frequency, either. He said that he would email me with the URL of the firmware he was using—the NR7Y firmware.
The next day, he did email me the URL, and I tried to figure out which version to download. I downloaded a package, but when I tried to flash it, I got an error message, “WARNING! CRC CHECK FAILED! FIRMWARE NOT VALID!” After an email exchange, Eric pointed me to a second URL – https://briand.github.io/cw-firmware-docs/download-and-flash/. Since I have a v1 UV-K5, I downloaded v1.5, and was able to get this file flashed to the radio.
The radio still seemed locked, though. I couldn’t change frequencies or operating mode. In the end, the solution to that was relatively simple. Eric said, “My suggestion is to reset all settings. You need to power on while holding PTT and the button right below PTT. That brings up hidden menu. Find RESET in the menu and then ALL.” That worked!
Getting the cable right
The final hurdle was connecting a key to the radio. You can’t simply connect a paddle to the radio because there is only a single input, not separate inputs for dits and dahs. To get around this limitation, you have to use a CEC cable. The CEC cable has a 10 kΩ resistor in one conductor and a 20 kΩ resistor in the other. In operation, the radio detects these resistors and generates a dit or a dah.
Being the smart guy that I am, I said to myself, “Hey, if I’m only going to use a straight key, why do I need this cable? Shouldn’t I be able to just connect the key directly to the radio?” Of course, the answer was no. I tried doing just that, but got nowhere.
First of all, it really does require a resistor in line with the keying input. I was able to do this easily enough. Below are two photos of the little key that I’m going to use with the Quansheng. There’s a little PC board inside the key, and I was able to disconnect one the white wire that went to the tip of the phone plug and solder in a 10 kΩ resistor.
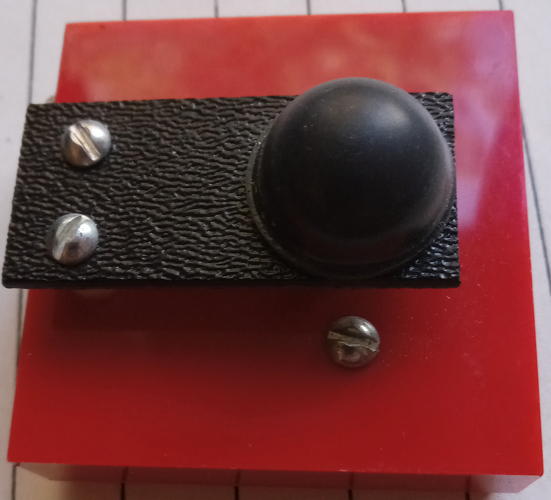
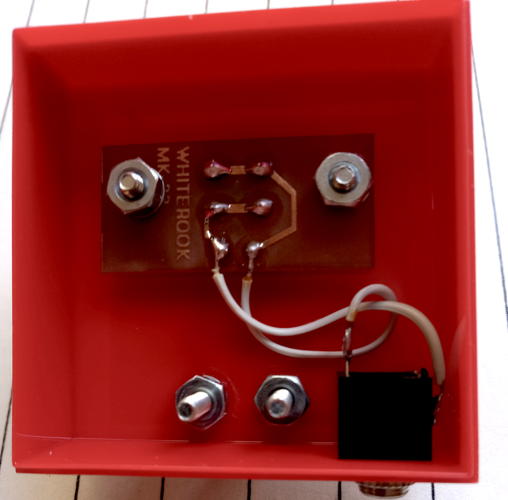
Or, I thought I was at least. The transmitter wouldn’t key every time I pressed the key. I thought that maybe the three-conductor plug wasn’t making good contact with the jack in the radio, but the problem turned out to be a poor solder joint to the sleeve connection in the two-conductor phone plug. If you’ve ever made a cable using one of those plugs, you know that they are hard to solder to. I popped an 800° tip into my soldering iron and reheated that joint, and now all is good.
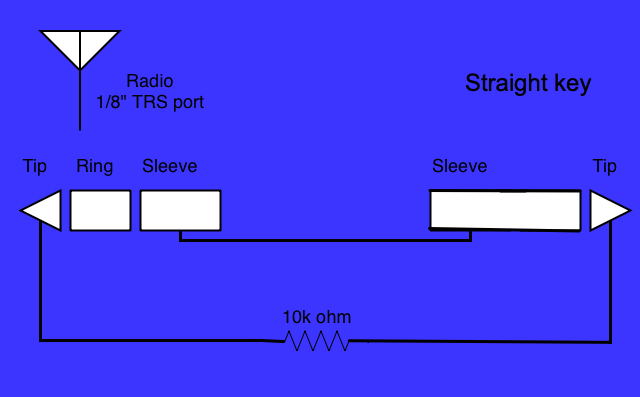
If you don’t have a key like mine that will accommodate a resistor, you need to make a cable like the one shown below. Unfortunately, the documentation really doesn’t say much about this.
So, now I’m ready to rumble. I’ll be looking forward to joining the Brass Knuckle Gang real soon now.
Leave a Reply