
 I love the Reverse Beacon Network (RBN) and have often thought about becoming one of the spotters in order to give something back. One of the things holding me back was that I needed to install CW Skimmer. Last December, I tried to get CW Skimmer working with my Flex 6400. Unfortunately, I wasn’t successful, and being both impatient and ambivalent about paying $75 for the program, I gave up on it after a little while.
A couple of weeks ago, I decided to try it again. This time, after consulting the Flex Radio Community Forum, I was successful. The trick getting a program called Slice Master 6000, which configures and launches third party applications, such as CW Skimmer, GRITTY, WSJT-X, and flDigi, automatically. (By the way, it’s called Slice Master because Flex refers to their receivers as “slices.”)
With that program up and running, the next step—and it turned out to be a bigggg step—was to connect CW Skimmer to RBN. The first thing that you have to do is to find the right version of a program called Aggregator. Unfortunately, there are links on the RBN website to version 4.4, and that’s the version I first downloaded and installed. So, of course, that didn’t work.
The version that you want is version 6.3. Honestly, I’ve forgotten how I found the right version, but you can find it at http://www.reversebeacon.net/pages/Aggregator+34.
After installing version 6.3, I was able to get Aggregator to connect to and collect spots from CW Skimmer, but it still wasn’t connecting to RBN for some reason. Googling around, I found the RBN-OPS groups.io mailing list. I asked for some help there, and after checking some of the obvious things, one of the fellows volunteered to actually log in remotely to my computer and get it all sorted out.
We spent nearly two hours debugging the problem, and honestly, I’m not sure what all he did, but it’s now up and running. At this point, I’m only spotting on one band at a time, and only when I’m not operating, but at least I’m giving something back to RBN.
It’s been quite interesting to watch the spots. Here’s a screen shot from a couple of mornings ago:
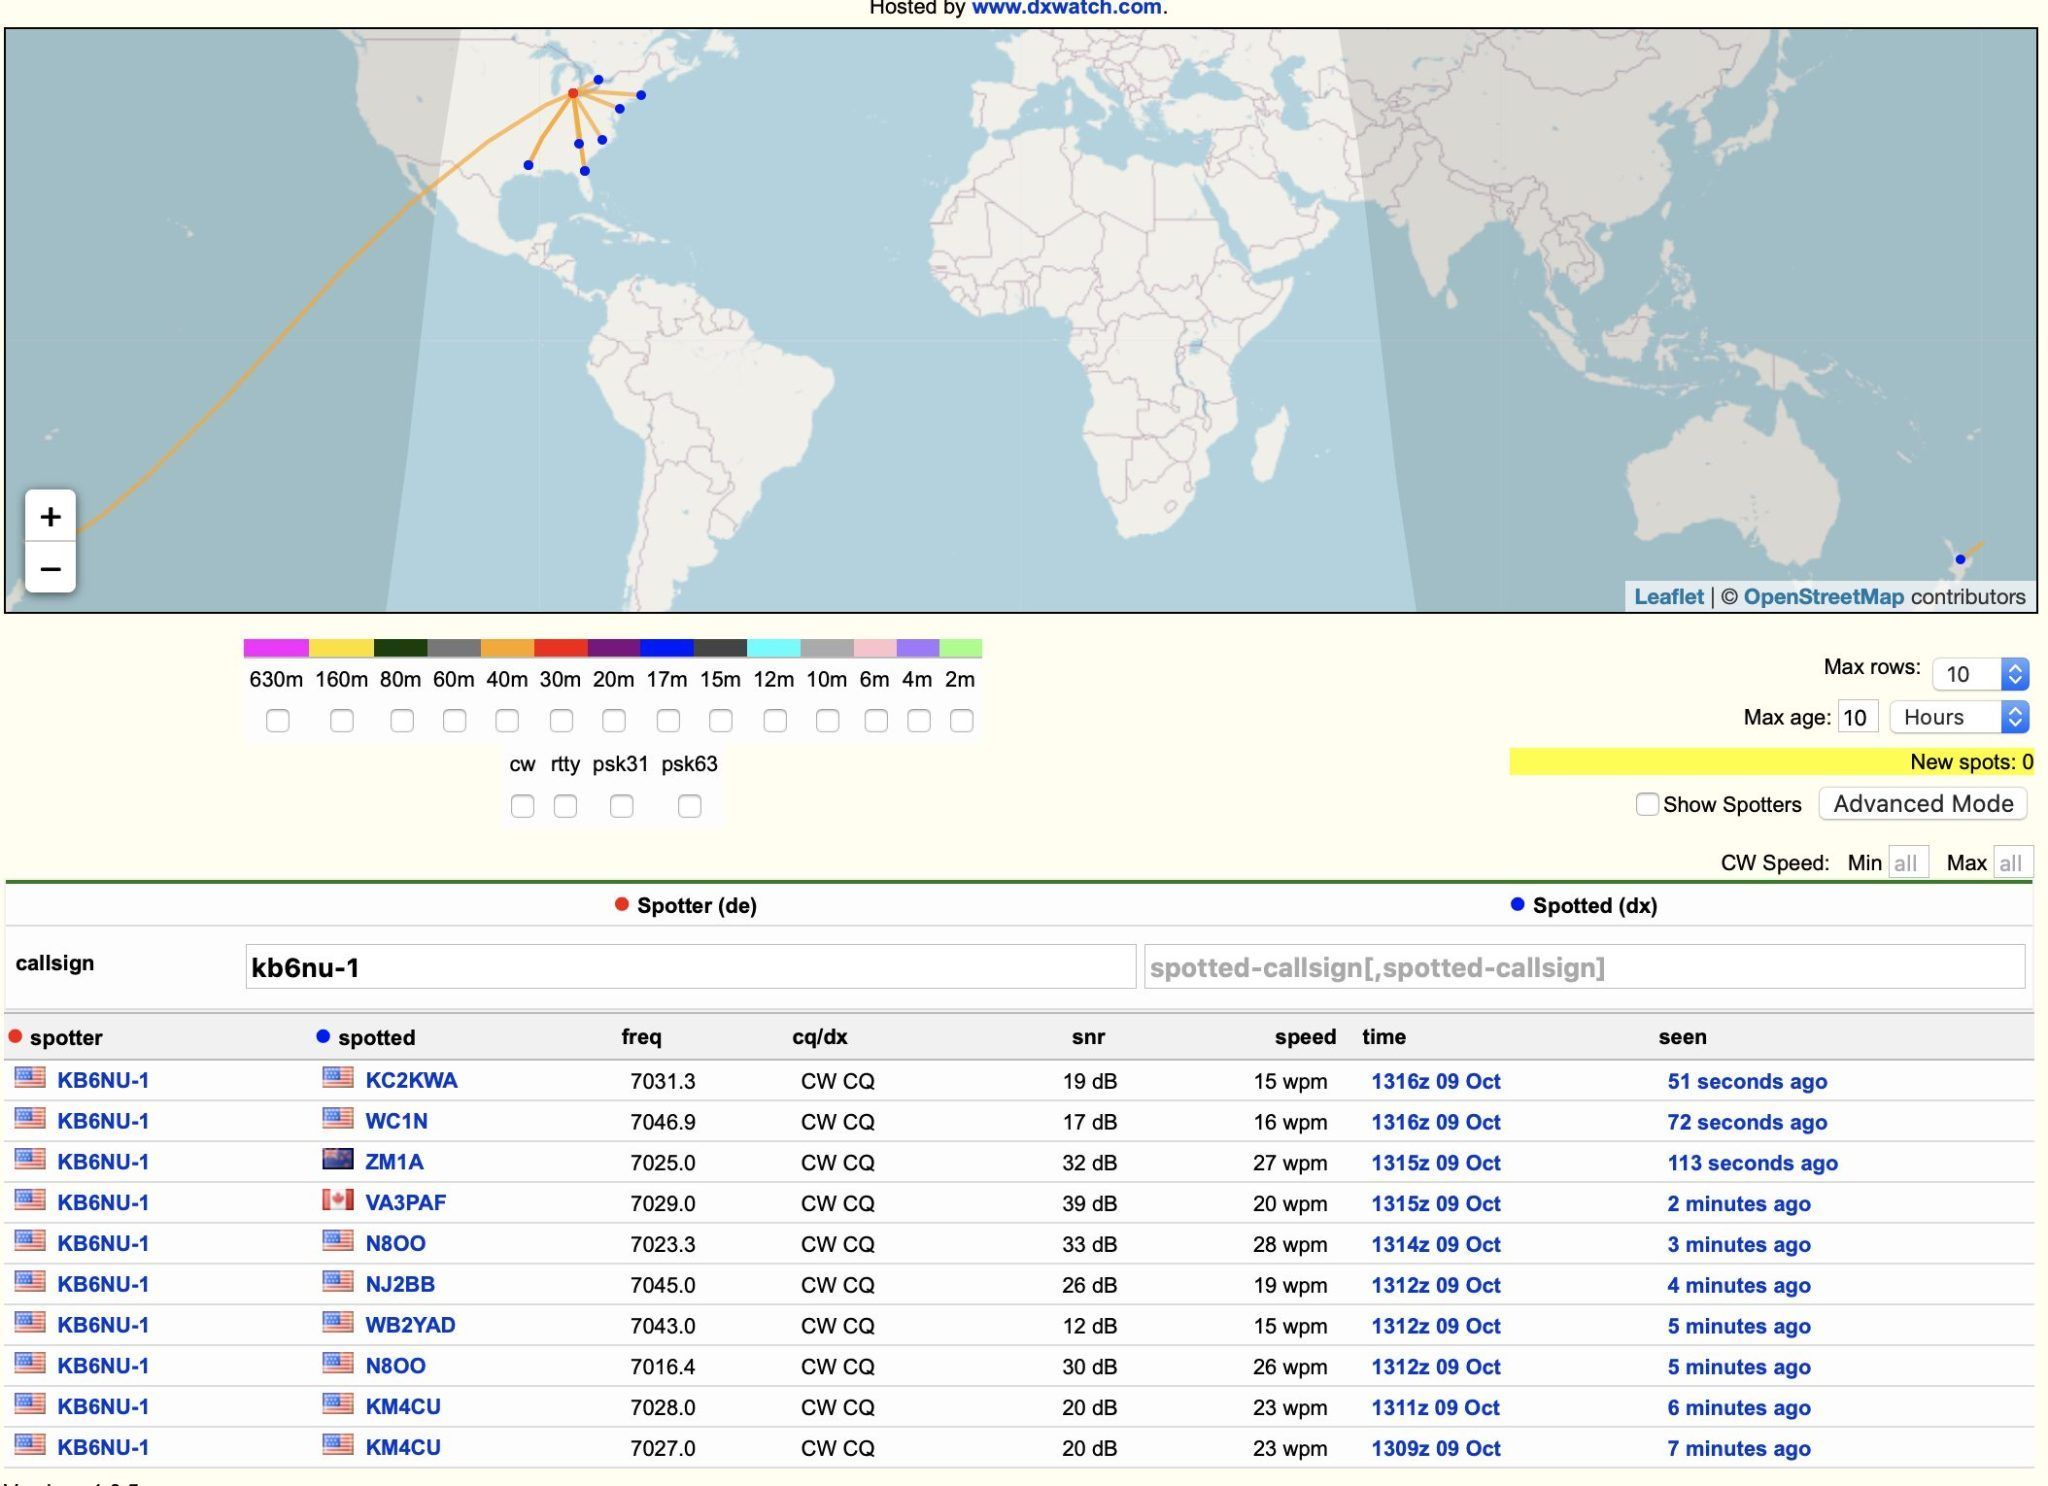
I’m not sure the ZM1A spot is for real. I just didn’t have enough time to run down there and try to work him. It is very interesting, though, to see how propagation changes throughout the day.
One thing that I found out is that many, if not most of the spotters are using Red Pitaya SDRs and not regular amateur radio transceivers. The Red Pitayas have an incredible bandwidth, and that’s why you see so many of the spotters providing spots on so many bands.
When my helper found out that I was using a Flex to provide the spots, he made it sound as though my single-band or dual-band spots weren’t going to be all that useful. It may not be as useful to the network as all the other spotters, but it certainly is interesting to me.
He also bristled when I suggested that the Aggregator documentation could be improved and that there might be more RBN spotters if the documentation was better. His position was that the really serious folks would persist and get it up and running. I’m not so sure about that. I think a lot of people give up when they encounter poor documentation.
Anyway, looking to the future, I think my next step is to be setting up my Flex 6400 to listen on two bands and send those spots in. After that, I may think about getting a Red Pitaya to become a more comprehensive spotter. The Red Pitayas cost $500, though, so it’s not an insignificant investment.
You can see my spots by searching for KB6NU-1 into the spotter callsign box on http://beta.reversebeacon.net/main.php.

 Ready to start programming and configuring that Red Pitaya open instrument platform?